STEP 1 - Items Needed for the Membership Process
- Letter Size Paper (8.5 x 11 in., USA), or A4 Size Paper (210 x 297 mm. Non-USA Countries – Use Fit to Page print order). The paper should be 100% Cotton Bond (24 or 32 lb.).
- Blue or Gold Ink Pen for Autographing
- Red Ink Pad (For Seal/Thumb Print)
You will also need:
- Color Printer (or Printing Service)
- Document Scanner (or Scanning Service)
- A Quality Binder or Document Folder for storing your documents and Exemption Card (to carry with you at all times)
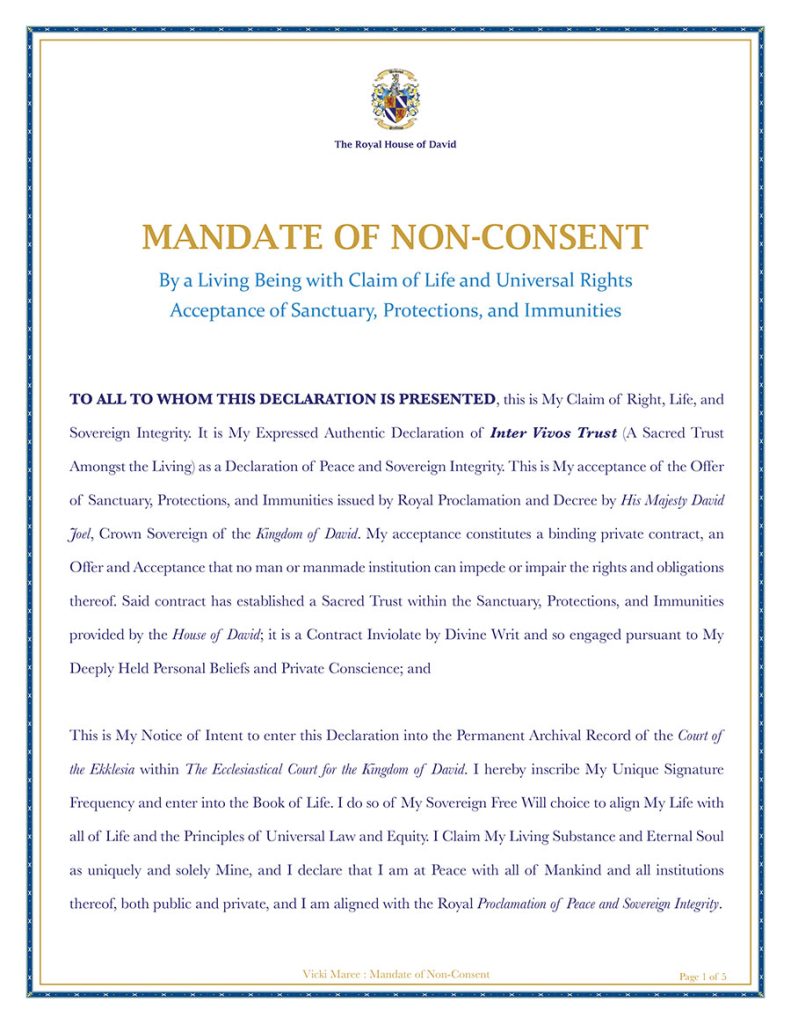
STEP 2 - Print your Individual Mandate of Non-Consent
Your Individual Mandate of Non-Consent is the ONLY document that you and your witnesses are required to autograph and seal. Have your two witnesses present to witness your autograph. They will do the same thing you do to autograph and seal where indicated.
First, review the Mandate of Non-Consent to make sure your personal names and information are correct. This document is page 5 and located on pages 41 to 45 of your Individual Mandate Pack.
After confirming their accuracy, print these five pages on to 100% Cotton Bond Paper.
STEP 3 - Autographing and applying your Seal
Autograph where your name is indicated with full name autograph (e.g. John Henry) using your Blue or Gold ink pen.
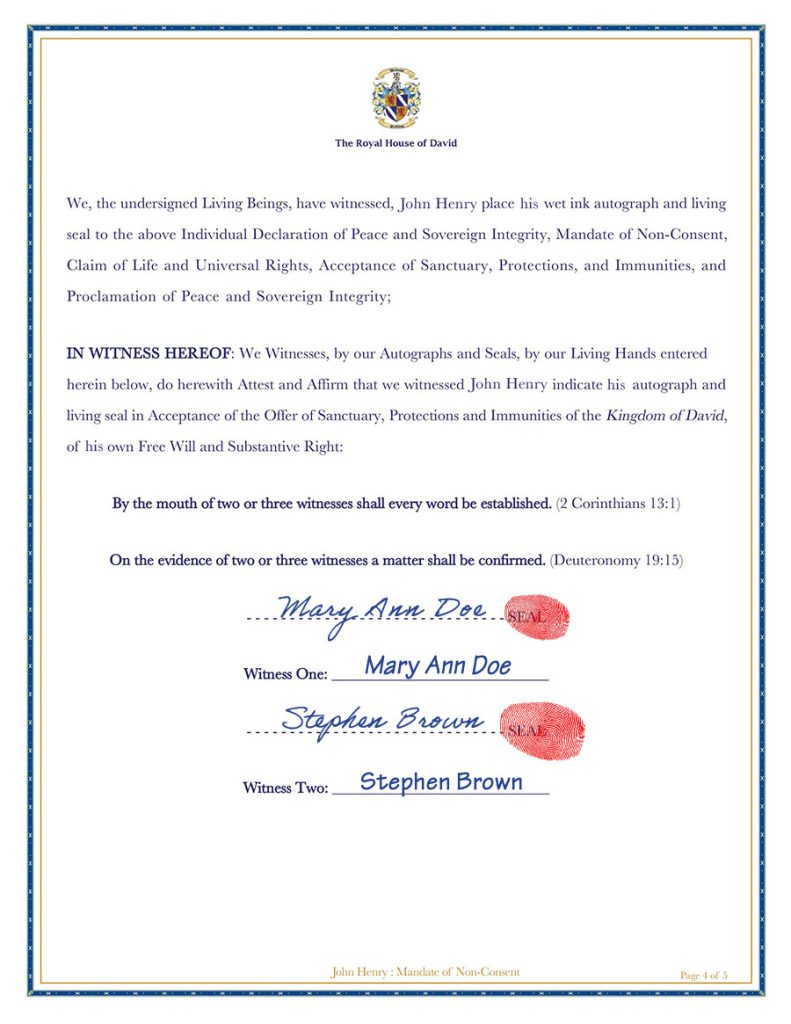
Seal your autograph by placing your right thumb onto the red ink pad and impressing the thumb in the area where your autograph is, over the word SEAL. You should leave a clear impression of your thumb print. The use of red and the thumb print indicates a living being and not a corporate fictional juristic Person.
Now have your two witnesses autograph and seal where indicated, just as you have done. Have them hand-write in legible letters their full names where it says Witness One and Witness Two.
When finished, scan the two pages containing autographs and seals, at a high resolution (minimum 300 DPI).
STEP 4 - Witnesses Autographs and Seals
STEP 5 - Naming Convention and File Upload
Name the two scanned image files using the following naming convention to include your unique CRN (Court Record Number) followed by “_Completed_Mandate” and “_Completed _Witness”
You should now have two files named as follows:
DPS.COTE.0000_Completed_Mandate.jpg
DPS.COTE.0000_Completed_Witness.jpg
Login to your Membership Account using the credentials you set up when you registered, then click on the Upload Documents button. This will display a form that you will use to upload your two scanned pages.

